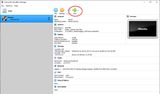
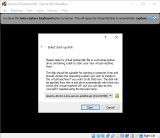
With a click on the green arrow we start the virtual machine and a terminal window opens. The VM is an independent computer, only virtual. Since it is still empty, it asks for a boot medium. There we select the previously mounted Ubuntu image. After that, the usual installation routine of Ubuntu is executed.
Ubuntu Installation
The installation routine now runs in the terminal window. We can simply close the messages that the keyboard or the mouse are to be captured.
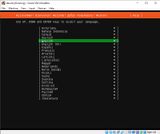
In the individual installation steps we enter the following:
- Language: English
- Keyboard Configuration: English
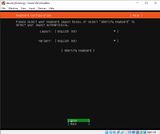
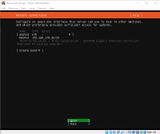
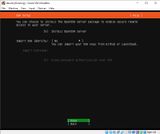
- Network connections: enp0s3 (that can be called differently with you)
- DHCPv4: automatically assigned by the router (most likely you have a different IP than in the screenshot)
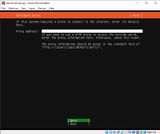
- Proxy: (empty)
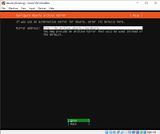
- Configure Ubuntu archive mirror: (default)
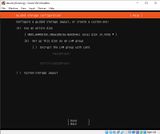
- Guided Storage Configuration: Use an entire disk
- Set up this disk as an LVM group: yes
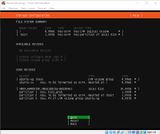
- Confirm summary
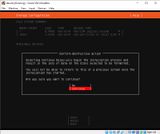
- Confirm destructive action: Continue
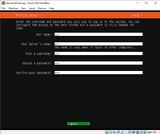
- Profile setup (decide freely)
- Your name: lss
- Your server's name: srv
- Username: lss
- Password: ***
- SSH Setup
- Install OpenSSH server: yes
- Import SSH identity: no
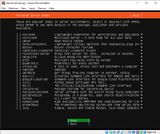
- Featured Server Snaps: (nothing)
- Wait for updates and restart
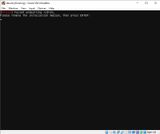
- Confirm CDROM Error with Enter
- The installation starts and takes a few minutes. It also happens that the installation is finished, but no feedback is received. In most cases an Enter is sufficient to get to the login.
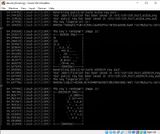
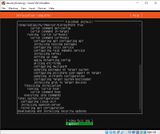
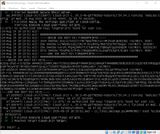
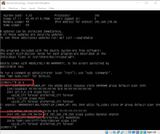
Some text may be red during installation, which is not bad. Like for example a CDROM error. There is actually no drive connected. If a login is expected at the end, it is a very good sign.
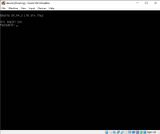
I hope you remembered or noted the IP. If not it is not so bad. As a little exercise, let's log in and retrieve the IP with a simple command. The login name is the username you used during the installation. The same goes for the password. If you don't have any experience with Linux, here's a hint: There is no feedback when entering the password, typical Linux.
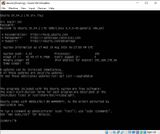
Request IP address
With the following command we can get the IP address of the VM:
__$ ip aThe $ character is not entered. ip is a command and the a is a parameter.
In the screenshot the command and in the output is marked in red. The IP address was assigned by the network adapter enp0s3 via DHCP from the router.
With this, our virtual machine is created and running Linux Ubuntu.
Instead of the VirtualBox terminal, a connection can also be established using SSH. This is explained in the chapter SSH connection to the server.